-
Big Buck Bunny has been Released to the net!
Big Buck Bunny from Blender Foundation on Vimeo. Here’s the Blender Institute’s latest movie. It’s much, much better than Elephants Dream. Check it out!
-
Blender 2.46 Released! (Yesterday)
Blender 2.46 was released yesterday and it has a whole bunch of new features- mostly created to facilitate production of Big Buck Bunny. What I’m looking forward to the most is hair/fur rendering, any tools that make armatures easier to skin (the bane of my animation hobby!), a cloth simulator, and the improved sequencer which…
-
FarmerJoe – An easier render solution.
I’ve been very happy until now with drqueue. Developed by Jorge Daza, it’s a very nice render farm management software with a nice GUI. It worked relatively well for me for “Jose’s Dinner” and “Schrodinger’s Cat“. However, there were two big kinks in using drqueue. First of all, Windows support was so sketchy it might…
-
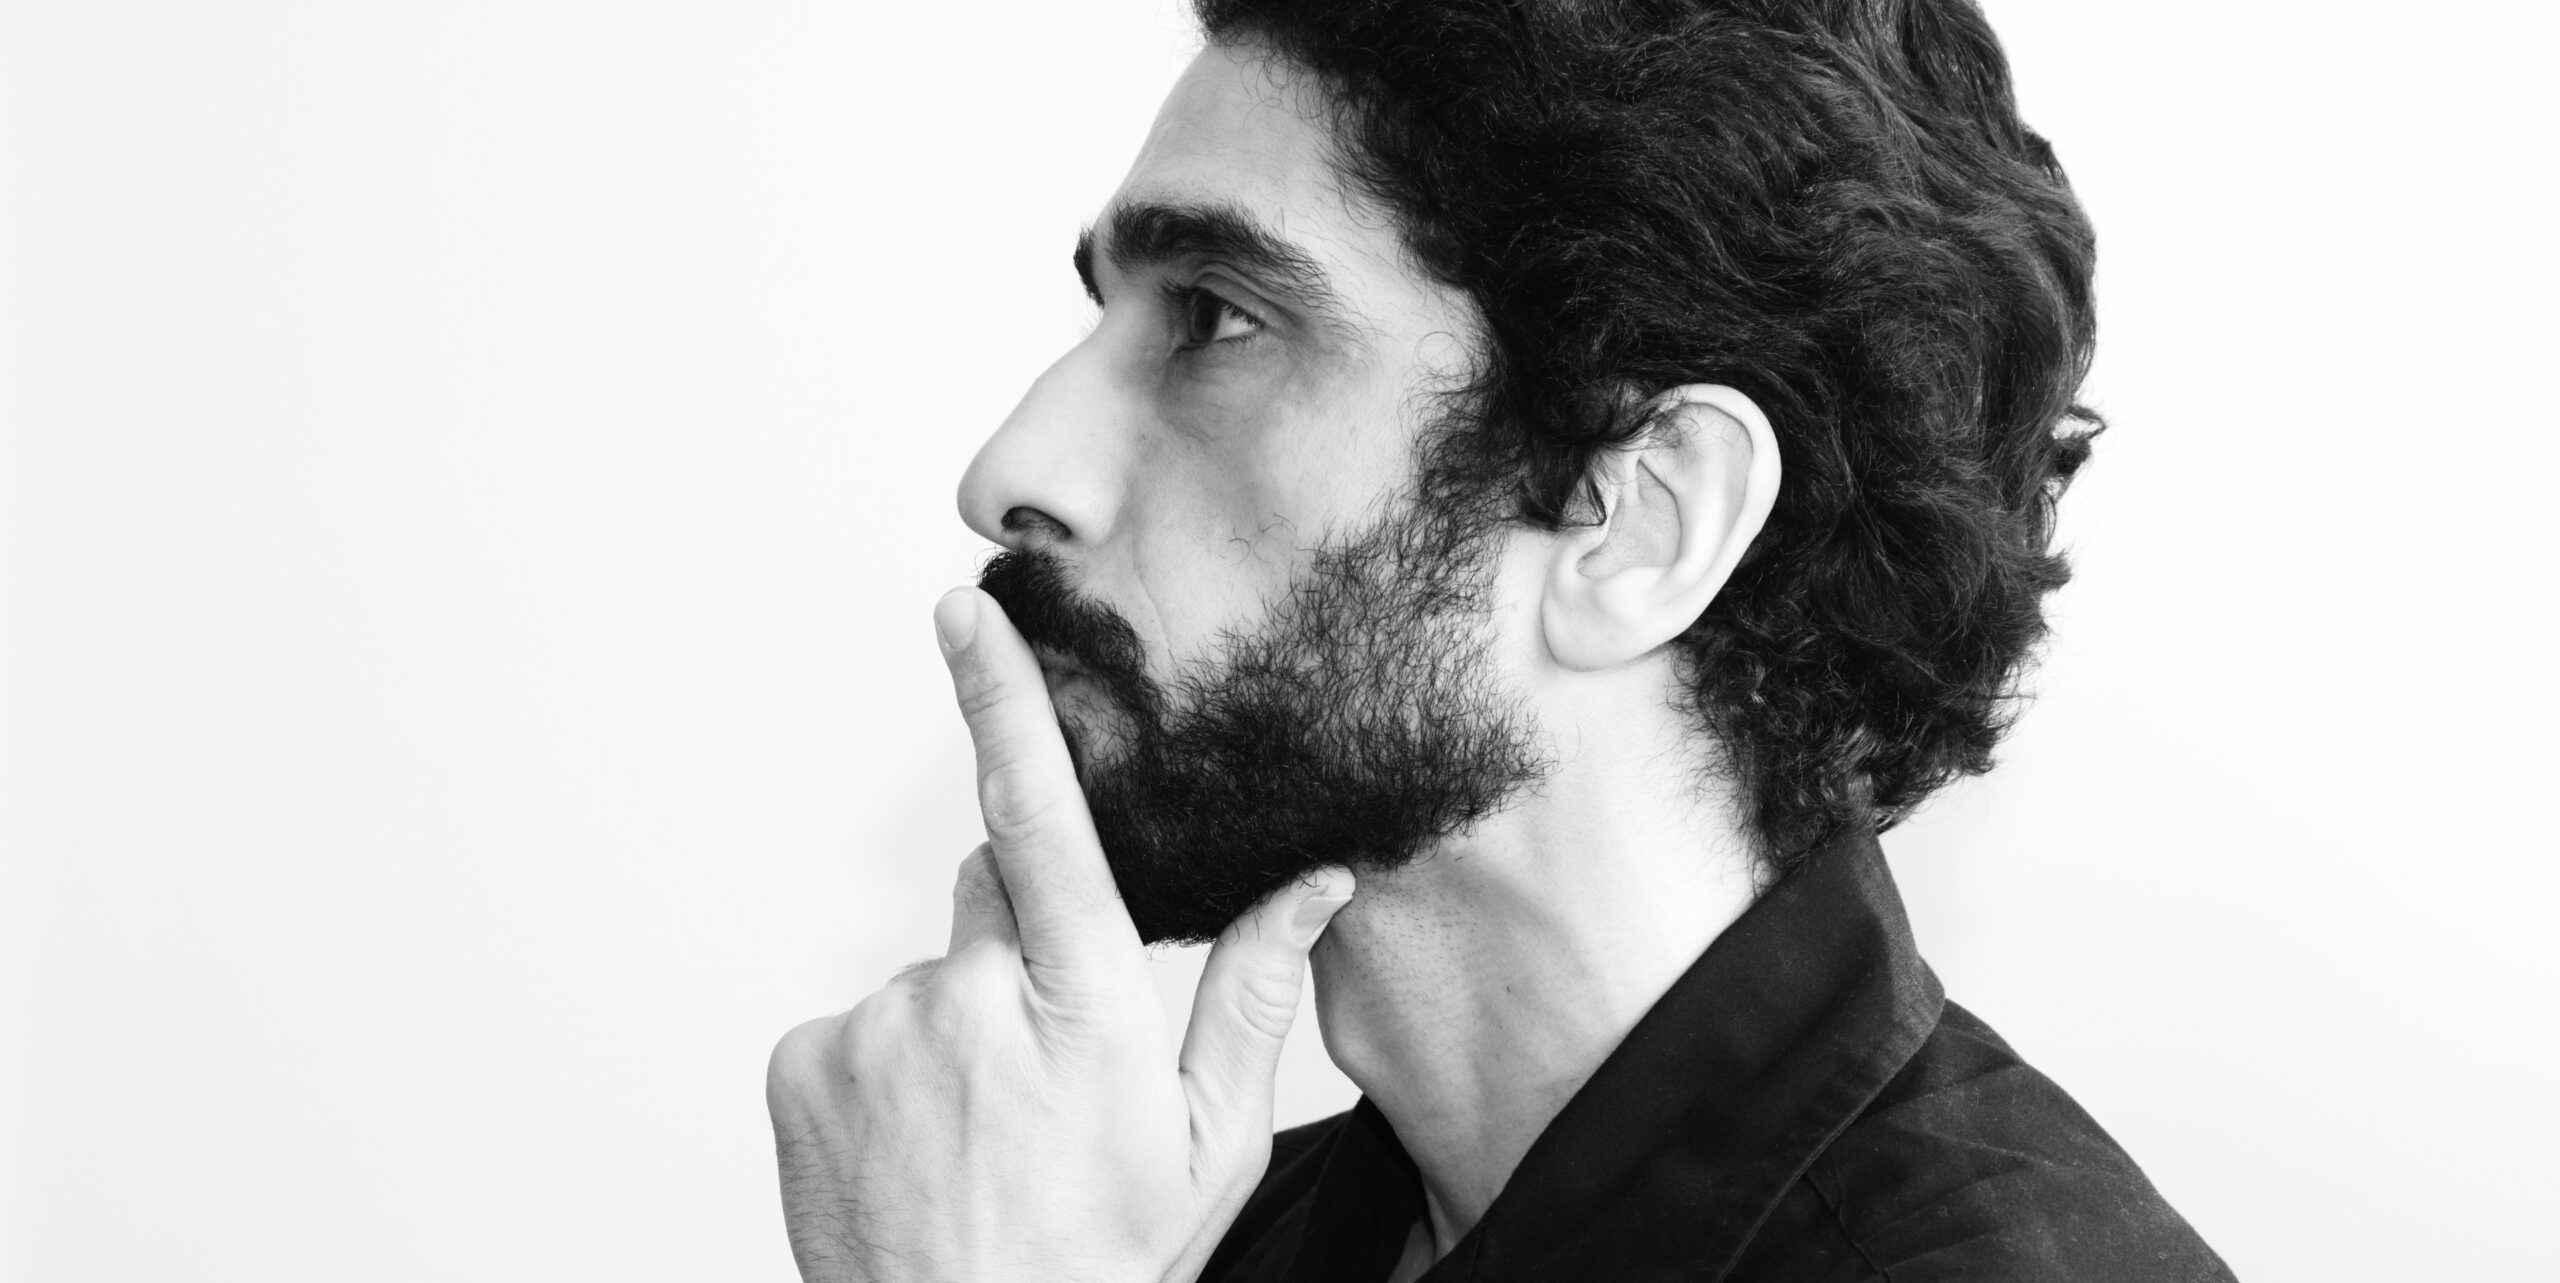
MakeHuman makes huge strides
You’re probably asking yourself two questions. 1) When did Eric get awesome at modeling humans? and 2) What are these bald, naked women doing on this site? In fact, you probably asked yourself those questions in the reverse order. Extra points for the MakeHuman team if you didn’t even realize those were computer images and…
-
Suzanne the Monkey, for your desktop
I don’t know if you liked my Indigo Render of Suanne as much as I did, but I wanted to make it into my desktop background. Thus I left Indigo running for 42 hours at the size of my destktop and came up with this beauty. And I figured that I may as well share…
-
Another Shot at Indigo and Suzanne
Posted over on Blender artists and told them about the problems I was having with Indigo and getting it to render Suzanne as glass. It turned out that I had two things wrong. One: I needed to set the gain to 2 instead of the standard 100. Apparently this controls the transparency level. Two: I…
-
First Try with Indigo Renderer
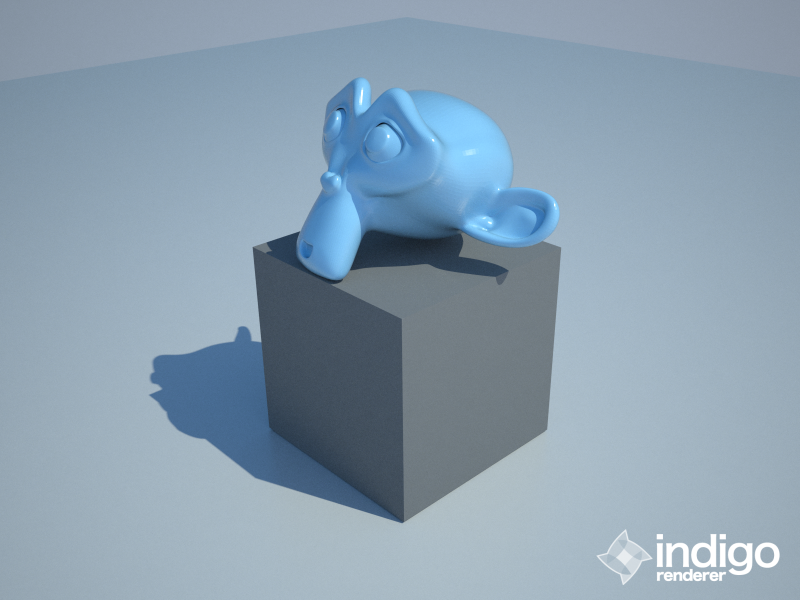
For nearly a year now, I’ve seen a lot of really great images in the blender gallery. Many of the most breathtaking images are rendered with outside renderers like Yafray or Indigo. Here’s an example of a subtle, but real-looking render made with Indigo. I already tried Yafray before, and didn’t really like it…
-
11 Second Club 7th Pass
11 Second Club – Nov 2007 – seventh pass from djotaku on Vimeo.
-
Night of the Living Dead Pixels
Check out this great short film made in Blender. It’s a must see!! I can’t say more without ruining the plot.
-
Fifth Pass at 11 Sec Club
11 Second Club – Nov 2007 – fifth pass from djotaku on Vimeo.
-
Fourth Pass at 11 Sec Club
11 Second Club – Nov 2007 – fourth pass from djotaku on Vimeo.
-
Third Pass at 11 Sec Club
11 Second Club – Nov 2007 – third pass from djotaku on Vimeo. Just need to lip sync the lil guy.
-
First Pass at Nov 2007 11 Second Club
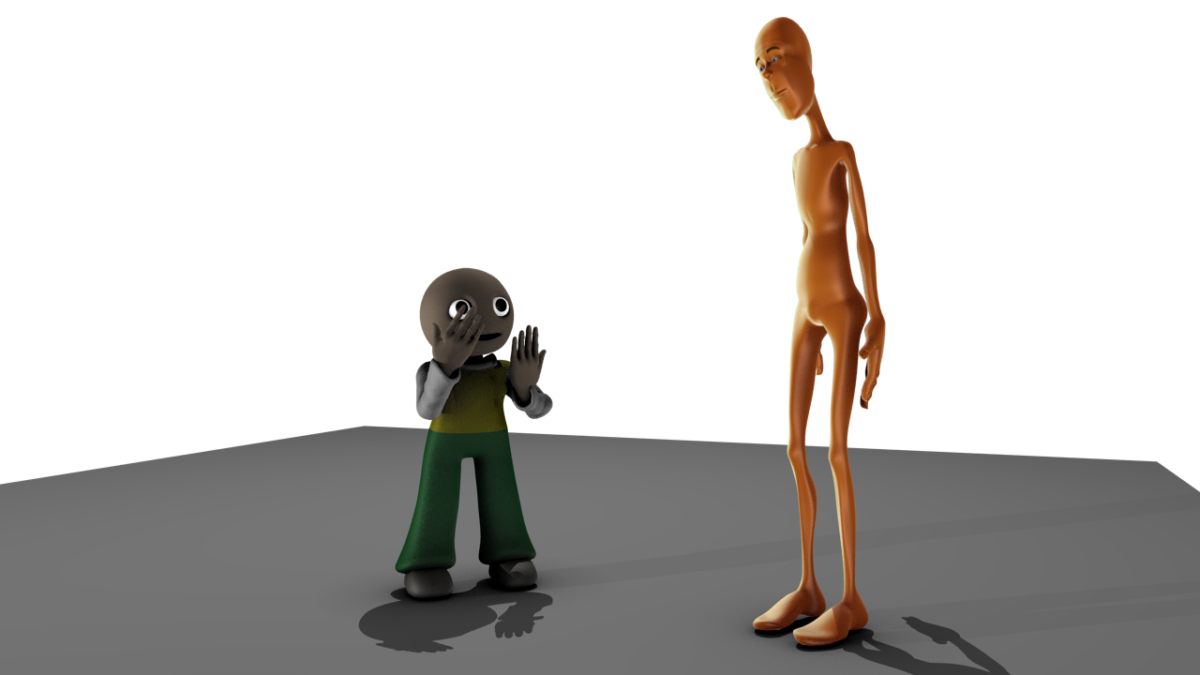
11 Second Club – Nov 2007 – first pass from djotaku on Vimeo.This is my first pass. I’ve gone through and animated nearly everything for the character on the right (mancandy) except the lip sync. To see it in full HD awesome quality, follow the link containing the video’s title right under the video. I’ve…
-
11 Second Club
The 11 Second Club is a great animation learning tool and a fun contest. Every month they post an audio file that is approximately 11 seconds long (it’s 12 this time) and the members create an animation to go along. At the beginning of the next month, the members vote on the entries and a…
-
Trick or Treat: The Director’s Cut (Part 2)
Ok, I got a better version uploaded. The video is MUCH better quality and the audio is better as well. However, the conversion to flash caused it to go a little out of sync. It’s still not as bad as it was before. Still, for someone like me who’s trying to share their creative vision,…